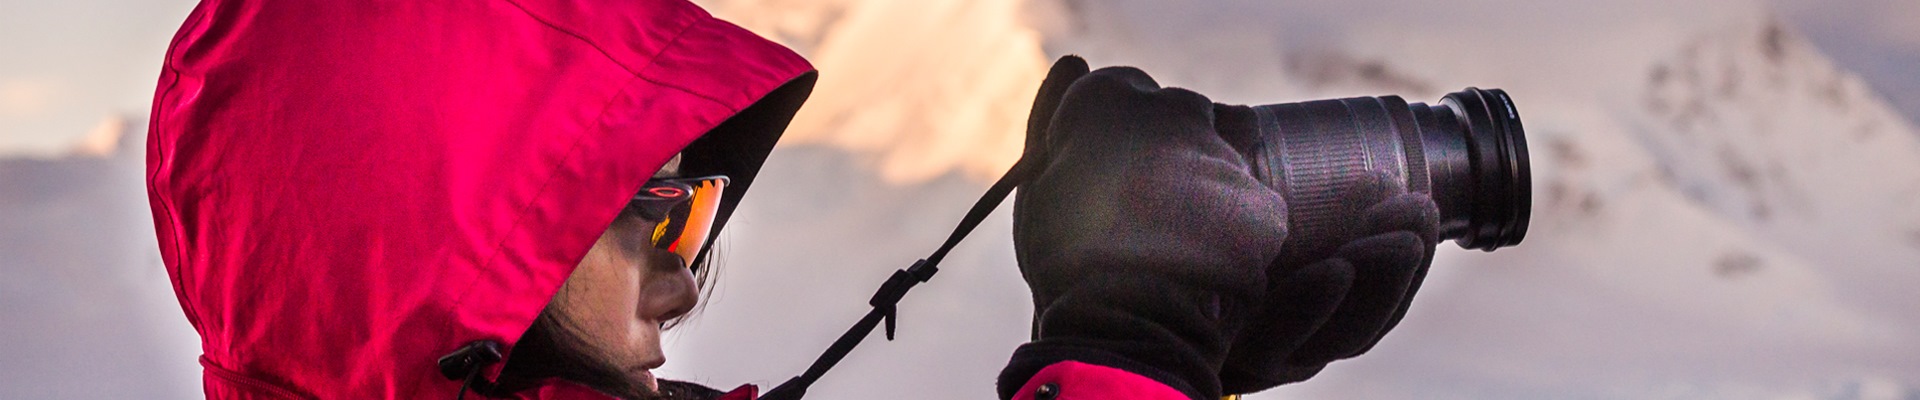
Fundamentals of Arctic Photography
Arctic Photography
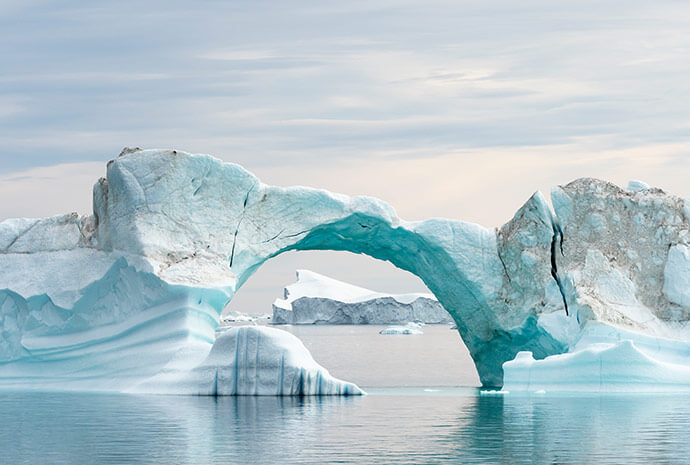
The Arctic, especially in summer, is a land of contrasts, with prevailing ice and snow, rocky and barren landscapes, green tundra and masses of land, marine and avian wildlife – it’s both a paradise and a challenge for photographers.
On an adventure to the Arctic, photography is an activity that everybody can participate in, whether they have the most advanced equipment or simply a point-and-shoot camera. Nevertheless, there are fundamentals to consider, both before travelling and during your trip.
WILDFOOT Wildlife & Adventure Specialist
Lines are open from 9am -5.30pm
Monday - Friday

Michael Gardiner
Product Manager & Senior Travel Expert
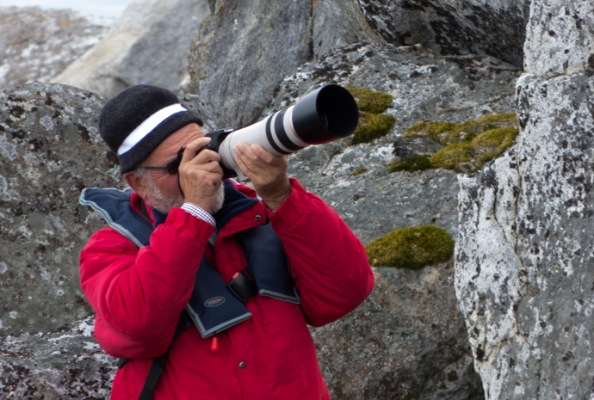
Be sure to take a good quality digital camera with you. An SLR with zoom lens is preferable for Arctic photography, especially for wildlife shots; however all the principal manufacturers also offer super-zoom, automatic ‘bridge’ cameras and high-spec compacts for those who prefer an easier life! You will also find that fellow passengers are often willing to share their efforts. Spare batteries and chargers as well as memory cards are absolutely essential. If you do not take your own laptop or other device, make sure you have a couple of high density memory sticks, so you can download and share images whilst on board.
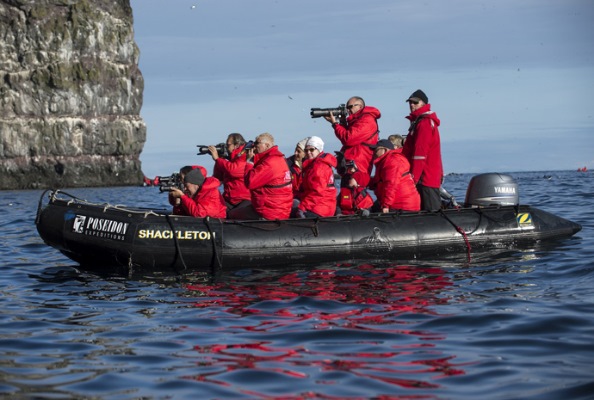
Many expeditions have dedicated Arctic photography workshops as part of the optional activities, usually at no extra charge. These are well worth attending, since they are conducted by professionals who are also experts in polar and wildlife photography. Ask your WILDFOOT consultant about expeditions with these workshops.
Photo Workshops
Arctic Cruises and Expeditions
PlayArctic Photography Tips
Pre-Trip Considerations
- Consider the need for back-up equipment/redundancies. Once you leave land there aren't a lot of options available to either repair or replace a piece of equipment if it goes wrong.
- Think about weather protection - you are almost certainly going to encounter bad weather while photographing (including rain, high winds, hail, sandstorms and sea spray). As a minimum you will need something to dry the camera, and if you are not using pro grade equipment that is suitably weather sealed, be extra careful that the elements are not going to destroy the electronics.
- Filters - there has been a lot of forum discussions about whether you should use filters for Arctic photography. I’m not a fan of UV filters as I don’t want to add an extra layer of (cheaper) glass in front of a (relatively expensive) lens. A circular polarizing filter, however, can be very useful for bringing out contrast and reducing glare when the sun is out (there are lots of reflective surfaces out here).
- Lens hoods - take them, use them. Religiously. They protect the lens front from many of the elements and prevent lens flare when the sun is at the wrong angle.
- Familiarity with your equipment - if you are going to treat yourself to that nice new camera or lens, bite the bullet and allow sufficient time to become familiar with how they work. Using their various functions and capabilities needs to become second nature when you’re facing the challenges of Arctic photography. For example, when an albatross is bombing past the side of the vessel you don’t want to be trying to figure out where the focus point selector button is.
On Board Photography
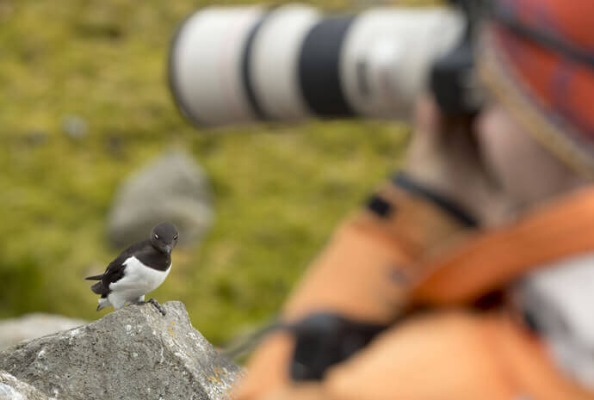
- Often, your vessel will be accompanied by numerous seabirds. While each present their own unique challenges, they all seem to possess an in-built ability to second guess you by changing direction just as you are about to press the shutter button.
- To combat this, the best tip (other than being familiar with the capabilities and functionality of your equipment) is to practice, practice, practice. In these days of digital photography, practice is almost free. Get used to tracking moving objects (try following cars as they approach you).
- Think about the background - the wake of the ship can be a useful background to create some interest rather than a white/grey sky.
- When photographing, spend some time looking at the patterns that the birds follow as they will tend to repeat it. This will show you where the best place to stand will be as your ideal location is to have the birds alongside the ship and moving at approximately the same speed as the ship - this makes it easier to track the bird and enhance the composition. As much as possible, stand on the rear quarter of the ship that is less windy. Not only do you have to deal with moving birds, you will be moving as well due to the wind and the effects of the ship’s movement. Minimise this as much as possible to increase the chances of a sharp picture.
- If the light allows it, increase your aperture as this will give you a shot with more of the bird in focus.
- Go through your shots each day and delete those that are of no use, otherwise you will end up, not only with full memory cards, but also thousands of redundant images to sort out at a later date.
Sign up for our free newsletter
Please enter your email address using the fields below to receive all of the latest news and offers!
Not sure? Other customers liked these Alternative itineraries

Greenland’s Disko Bay & Uummannaq
August Only | 7 NightsJoin a majestic adventure in Greenland and experience summer in the Arctic complete with gigantic icebergs, settlement visits, the stunning Eqi Glacie...
Up to 50% Discount!
Three Arctic Islands
August to September | 14 NightsThis very special, award-winning expedition voyage takes in the three most iconic islands in the Arctic region. See polar bears, reindeer, walrus and ...
Book select dates now and receive up to a huge 50% discount off select cabins!
Up to 50% Discount!!
Gems of West Greenland with Helicopter Flight
July to August | 11 NightsDiscover the majestic wonders of Greenland’s dramatic western coastline as you set sail aboard the Ultramarine for an unforgettable adventure. Visitin...
Book select departures now and receive up to a huge 50% off your voyage cost!
Members of The Adventure Travel Trade Association
WILDFOOT are proud to be members of ATTA. The ATTA community put effort towards nurturing, protecting and professionalizing the sustainable development of the adventure travel industry.