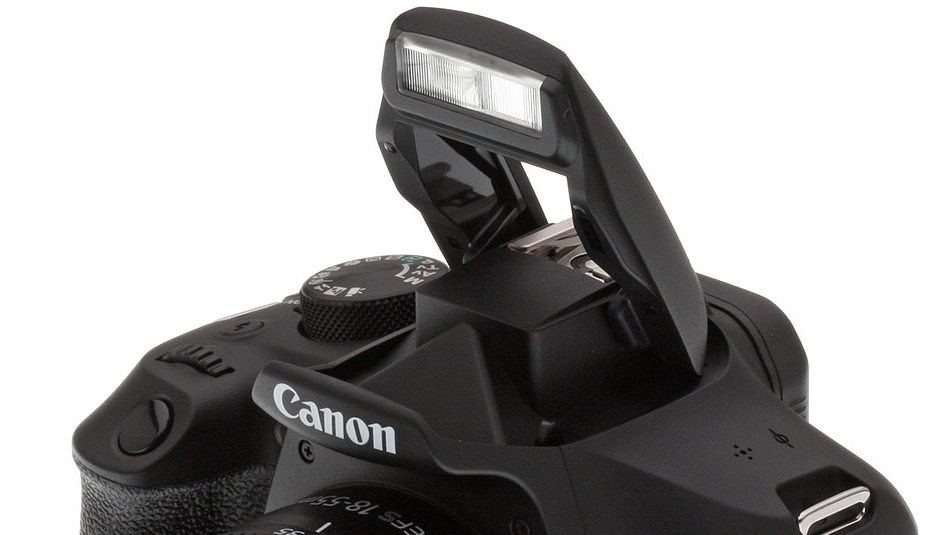
 Say No To Your Flash
Every month Wildfoot Travel’s marketing expert Dave Cheetham offers some practical photography tips.
Aimed at beginners and the everyday photographer, these tips are carefully compiled to help you get better travel and wildlife shots.
Every trip calls for a few shots, often portraits, in fading light or dark conditions. Without expensive professional equipment, the automatic, built in flash on your camera can produce hideous results. Direct, harsh, cold light and red-eye can ruin an otherwise good photo.
So before you resort to flash photography, here are a few ideas to experiment with
- Most cameras have a setting to override the flash and, in many cases, with the flash set to ‘off’ the camera’s semi-automatic modes will re-adjust to get the best image possible. This can have unexpectedly good results.
- Move your subject. If you are indoors, see if you can relocate your subject to a position with better light.
- Move yourself. Be aware of where the light is coming from, make sure it can reach your subject effectively, from the right direction. Without you, or anything else in the way.
- Let more light in. Can you open a window or door, pull a curtain or turn another light on to let more light in to the frame?
- Position your subject away from walls – avoiding the harsh shadows that walls create.
- Use a tripod. In low light, camera shake will be exaggerated so a tripod will help reduce the blurring effect.
- Turn the ISO up, increasing the sensitivity to light. Try different settings as higher settings bring more noise or ‘grain’ to your shots.
- For the more technical amongst you, select a wider aperture (lower F-number) to let in more light.
- Study the location and learn the light. Make a mental note of where the ‘nice light’ spots are.
- Don’t wait ‘til you go. Experiment with all these ideas before your next big trip, that way you’ll come back with better photos.

